Crypto Miner Fan Speed Tester — User Manual & Diagnostic Guide
The F1 Universal ASIC Miner Fan Tester (also catalogued as ZTW4101A across the repair-tool ecosystem) is a compact bench tool for verifying 4-wire and 6-wire PWM fans at DC12V working voltage across the Antminer, Whatsminer, Avalon, and Innosilicon ASIC miner lineups. It outputs three connector sockets (4-pin Antminer / 6-pin Whatsminer / 2×2 4-pin Avalon), supports automatic and manual PWM modes (10-100% adjustable), and reports pass/fail audibly + on-screen against operator-set RPM thresholds. This 2026 user manual refresh covers the full F1 tester interface, button-and-menu reference, fan socket pin definitions, and — new in this revision — the documented fan RPM thresholds per miner generation, when to use the F1 vs the multi-function K-series testers, and the fan-simulator alternatives for cases where the operator needs to bypass fans entirely during bench PSU testing.
What the F1 Fan Tester Does
The F1 is a single-fan benchtop tester — connect one fan at a time, apply DC12V, and the tester drives the fan's PWM input from 10% to 100% while reading the tachometer feedback in real time. Two operating modes:
- Automatic mode: tester sweeps the fan from 0 RPM to its rated speed (typically 6000 RPM) within the user-set ramp time, then samples the steady-state RPM against the operator-set threshold (e.g. 6000 RPM for a Nidec 12038 Antminer fan). One beep + "Passed" on screen = qualified; two beeps + "Failure" = unqualified.
- Manual mode: operator sets PWM duty cycle directly (10-100%) and watches the resulting RPM. Useful for non-standard fans where the speed-vs-PWM curve differs from the typical ASIC miner spec, or for diagnosing whether a fan is stuck at a particular speed.
The tester is not a current/voltage meter — it does not measure fan motor current, bearing torque, or fan-driver IC health on the miner side. For those, an oscilloscope on the tachometer line + multimeter on the supply rail are still required. The F1 is purpose-built to answer one question fast: "Does this fan reach the expected RPM under PWM control?"
Why Fan Testing Matters in 2026
Fan failure is the most common single failure mode across every modern ASIC miner generation — Antminer S19/S21, Whatsminer M50/M60, Avalon A1166 Pro / A1246, Iceriver KS series, all rely on continuous high-RPM airflow to keep ASIC chip temperatures within the protection envelope. A failed fan triggers thermal shutdown long before any other component fails, but operators sometimes mis-diagnose a thermal-shutdown event as a hashboard failure or a PSU failure. Bench-testing the fans first with the F1 tester rules out the cheapest failure mode before any deeper diagnostic. A new replacement fan costs $5-15; a misdiagnosed hashboard swap costs $200-500. The F1 tester pays for itself the first time it catches a fan that the miner's web interface reported as "0 RPM" (which can also indicate a control-board PWM fault or a broken tachometer return line — the tester isolates which one).
Safety Summary
- Maintenance procedures should be performed by qualified technicians only.
- Use the appropriate DC12V power supply — recommend one with short-circuit protection.
- Connect only one fan per test. If unsure about fan pin function, do not connect randomly.
- Keep fingers and objects clear of the fan blades during high-RPM rotation.
- Check the fan's voltage and current rating before powering on — DC12V at the spec'd current; do not exceed.
- If you suspect tester malfunction, stop operation and consult qualified service personnel.
- Keep the tester surface clean and dry.
F1 Fan Tester Interface Reference
Connector sockets (rear / top)
- Power interface: DC12V input. Standard barrel jack or screw terminal depending on production revision.
- 4-pin fan socket: for Antminer fans (standard 4-pin: V+ / GND / Tach / PWM). Compatible with the standard Antminer S19K Pro 12cm square 4-pin fan and the Delta PFM1412DE 140mm fan for Antminer S21.
- 6-pin fan socket: for Whatsminer fans. Whatsminer's 6-pin format includes the standard PWM + tach + V+ + GND lines plus 2 additional lines for the higher-current Whatsminer M50/M60 fans. For Whatsminer fans using the 6-pin format, the Whatsminer 6-pin to 4-pin fan adapter cable bridges to standard 4-pin sockets when needed.
- 2×2 4-pin fan socket: for Avalon fans. Avalon's 2×2 fan layout requires the dedicated socket — the HA1250H12SB-Z 120mm Avalon replacement fan uses this connector format.
Buttons
| Button | Function |
|---|---|
| + (plus) | Increase value / scroll menu options up |
| - (minus) | Decrease value / scroll menu options down |
| OK | Save the current parameter. Must press OK after any value change for it to take effect. |
| MENU | Short press: enter menu / cycle between menu options. Final option ("Device SN") + MENU press = return to main user interface. |
Menu Options Reference
| Menu Option | Function | Adjustment Range |
|---|---|---|
| Current Mode | Selects Automatic or Manual PWM control | Automatic = stage-based PWM ramp with qualified-test logic. Manual = direct PWM control (10-100%), qualified-test disabled. |
| Fan Speed Qualified Test | Pass/fail threshold for Automatic mode | If sampled RPM falls below the user-set value within the test time, fan is marked Failure (2 beeps). Above threshold = Passed (1 beep). Only active in Automatic mode. |
| Automatic Test Time | Ramp-up time from 0 RPM to spec RPM | Seconds. Adjust based on fan size (larger 14cm fans need longer ramp than smaller 12cm). |
| Test Speed | The target RPM threshold for the qualified-test | e.g. 6000 RPM for Nidec 12038 Antminer fan. Long-press +/- for fast adjustment. |
| Language | UI display language | Chinese / English |
| Sound | Audible feedback | On (button beeps + test result beeps) / Off (silent mode) |
| Equipment SN | Factory serial number of the tester | Read-only. No operator significance. |
Switching the Tester Interface to English
- Press MENU to enter the menu.
- Press + or - to navigate to "Language".
- Press OK to enter the language selection.
- Press + or - to switch between Chinese and English.
- Press OK to save.
Fan RPM Threshold Reference by Miner Family
The "Test Speed" qualified-test threshold should be set to match the fan's actual rated RPM. Common ASIC miner fan RPM specifications:
| Miner family | Fan type | Rated RPM (nominal) | Notes |
|---|---|---|---|
| Antminer S19 / S19j Pro / S19k Pro | 12cm square 4-pin (e.g. Nidec 12038) | ~6000 RPM | Standard test threshold for the Bitmain S19 generation. S19K Pro 12cm fan |
| Antminer S21 / S21 Pro / T21 / S21 XP | 14cm square 4-pin (Delta PFM1412DE) | ~6000 RPM at full PWM | Larger 14cm fan for S21 generation. Delta PFM1412DE S21 fan |
| Whatsminer M30/M50 series | 14cm × 38mm 6-pin (high-static-pressure) | ~6000 RPM ±10% | Whatsminer 6-pin format. Use 6-pin socket on F1 tester. Whatsminer's web backend reports normal range as 6000 ± 10%. |
| Avalon A1166 Pro / A1246 | 120 × 120 × 38mm 4-pin × 4 fans (2 intake + 2 exhaust) | Up to 6000 RPM | Use 2×2 4-pin Avalon socket. HA1250H12SB-Z Avalon fan |
| Iceriver KS3 / KS3L / KS3M / KS5L | Variant — check fan label on the unit | ~6000 RPM (typical) | Iceriver fan format varies; check the fan's voltage + connector before testing |
| Innosilicon T2T / T3 series | Standard DC12V 4-pin PWM | Variant per model | Older Innosilicon T-series; refer to fan body marking for spec RPM |
When to Use the F1 Fan Tester
Single-fan failure isolation
Most common use case. The miner reports a fan as "0 RPM" or "abnormal speed" in the web backend. Pull the suspect fan from the chassis, connect to the F1 in Automatic mode, set the test threshold per the miner family table above, and let the tester sweep. If the fan reaches spec RPM and passes the qualified test, the fault is upstream (control board PWM channel, tachometer return line, or fan-cable continuity). If the fan fails to start or reach spec RPM, the fan motor / bearing is the failure.
Pre-installation QC on replacement fans
Before installing a new replacement fan in a miner, bench-test it with the F1 to confirm it reaches spec RPM and passes the qualified test. Catches manufacturing defects before they cost you a second teardown.
Fleet maintenance audit
During quarterly fleet inspection, pull each miner's fans one-by-one, F1-test each, and log the pass/fail + actual peak RPM. Fans that are at or near the threshold but still passing today often fail within 1-3 months — proactive replacement during scheduled maintenance is cheaper than emergency replacement during a hashrate-loss event.
Diagnosing PWM curve anomalies
Manual mode allows the operator to set PWM duty cycle directly and watch the resulting RPM. Useful when a fan reports the correct top-end RPM in Automatic mode but seems to "hunt" or oscillate in deployment — Manual mode at intermediate PWM values can reveal whether the fan tracks the PWM curve smoothly or jumps between discrete speed states.
Limits — When the F1 Tester is NOT the Right Tool
- Hashboard or PSU diagnostic: the F1 only tests fans. For hashboard fault localisation or PSU output validation, use one of the multi-function testers — the K3L multifunctional hashboard + PSU + fan tester, the K9 ASIC multifunctional tester, or the K8 universal hashboard + PSU tester. These integrate fan-testing alongside the primary hashboard/PSU diagnostic capability.
- Touch-screen / oscilloscope use case: for operators who need a visual PWM waveform reference alongside fan RPM, the BK820A DC Fan Speed Tester with touch screen oscilloscope is the next step up — more capable but more expensive than the F1.
- Bench-testing a PSU without fans connected: the F1 tests the fan itself. To bypass the fan circuit during PSU bench-testing (so the PSU starts without thermal-shutdown errors), use the dedicated fan simulators below.
Related Tool: Fan Speed Simulators for Bench PSU Testing
When bench-testing a PSU, the miner control board, or running immersion-cooling deployments where physical fans are removed, the fan-speed simulator provides a synthetic tach signal that satisfies the miner's fan-presence check. LYS stocks fan simulators per miner family:
- Antminer Fan Speed Simulator 4-in-1 — universal Antminer fan simulator
- Antminer S19K Pro 4-in-1 fan speed simulator
- 2-in-1 Antminer S19K / S19K Pro 4-pin ATX fan simulator (immersion / water / hydro / oil cooling)
- Antminer S21 / S21 Pro / T21 / S21 XP fan speed simulator
- Antminer L9 fan speed simulator
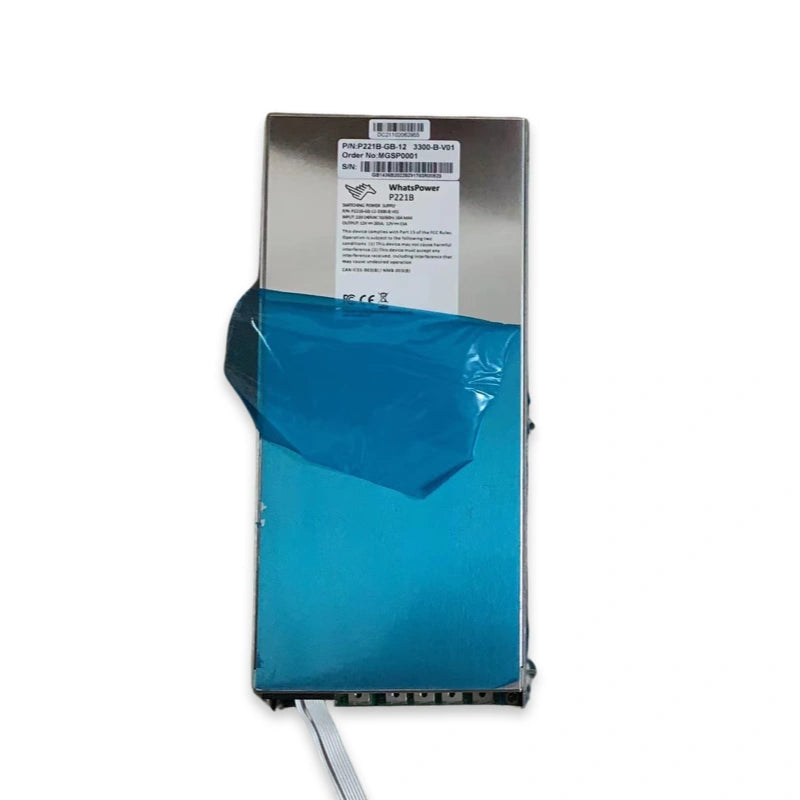
- Whatsminer 4-pin fan simulator (P21 / P221 / P222 PSU bench bypass)
- Avalon PSU power supply fan simulator
- Avalon PSU 2-in-1 fan simulator (immersion cooling)
FAQ — F1 Fan Speed Tester
What fans can the F1 tester verify?
Most 4-wire and 6-wire PWM fans at DC12V working voltage across Antminer, Whatsminer, Avalon, and Innosilicon ASIC miner lineups. Three connector sockets cover the major formats: 4-pin Antminer, 6-pin Whatsminer, and 2×2 4-pin Avalon.
How do I set the qualified-test threshold for an Antminer S19K Pro fan?
Set "Current Mode" to Automatic, "Test Speed" to 6000 RPM (the Nidec 12038 standard for Antminer 12cm fans), and "Automatic Test Time" to a value matching the fan size (typically 8-15 seconds for a 12cm fan). Connect the fan, apply DC12V power, and the tester will sweep the fan and beep + display "Passed" or "Failure" at the end.
My miner reports a fan as 0 RPM in the web backend but the F1 tester says the fan is healthy. What does that mean?
The fault is upstream of the fan — most likely either the control board's fan PWM channel, the tachometer return line on the fan cable, or a broken pin in the fan socket on the miner side. Try swapping the fan cable to a known-good slot on the same miner. If the symptom moves with the slot, the control board's fan channel is faulty. If the symptom moves with the cable, replace the cable. If the fan still reports 0 RPM with a good cable in a good slot, recheck the F1 test (occasionally a marginal fan passes the F1 threshold but fails under the miner's own startup load).
Can I test a fan at less than DC12V?
The F1 is designed for DC12V working voltage. Below 12V some fans will not reach their spec RPM and will appear to fail the qualified-test — this is not a fan defect, it's a tester input-voltage mismatch. Use a DC12V regulated supply for accurate results.
Can the F1 tester check fan-driver IC health on the miner side?
No — the F1 only tests the fan itself. To verify the fan-driver IC + PWM channel on the miner's control board, use one of the multi-function K-series testers (K3L, K8, K9) which include fan-circuit testing alongside hashboard and PSU diagnostics.
What's the difference between Automatic and Manual mode?
Automatic mode sweeps the fan through its full PWM range (0-100%) and compares peak RPM against the qualified-test threshold — pass/fail result. Manual mode lets you set PWM duty cycle directly (10-100%) and watch the RPM in real time — useful for non-standard fans or PWM-curve diagnostics. The qualified-test (pass/fail) function is disabled in Manual mode.
Do I need separate fan simulators for bench-testing PSUs?
Yes — the F1 tests fans, but if you're bench-testing a PSU or control board without the physical fans connected (e.g. immersion cooling deployment, or to bypass the miner's fan-presence check during PSU validation), you need a dedicated fan-speed simulator per miner family. LYS stocks fan simulators for Antminer, Whatsminer, and Avalon — see the Related Tool section above.
Sourcing the F1 Fan Tester & Related Tools
LYS Shenzhen stocks the F1 Universal ASIC Miner Fan Tester in single units and bulk pricing for fleet operators. For the broader ASIC repair-bench tool lineup — multi-function K-series hashboard + PSU + fan testers, the BK820A touch-screen variant, fan simulators for every major miner family, plus replacement fans (Antminer, Whatsminer, Avalon) — see our parts catalog or contact our team at contact@lys-sz.com for bench-equipment package quotes.
Worldwide shipping from our Shenzhen warehouse via DHL, FedEx, UPS, and sea freight. DDP shipping available for US and EU customers; case-by-case for other lanes — request a quote with your shipping country for confirmation.